Introduction#
Ever wanted to try Ubuntu without giving up Windows? Many beginners hesitate because they’re afraid of losing their files or messing up their system. In this guide, I’ll walk you step-by-step through installing Ubuntu alongside Windows, safely and easily, so you can enjoy both operating systems on the same machine. Whether you’re a developer, student, or just curious about Linux, by the end of this tutorial, you’ll have a fully working dual-boot setup without any headaches.
Requirements#
A laptop or PC
A USB drive with at least 8 GB of storage
Internet connection
Backup of important files (just in case you did any wrong step and lost the data)
Installation Procedure:#
Step 1: Download Ubuntu ISO#
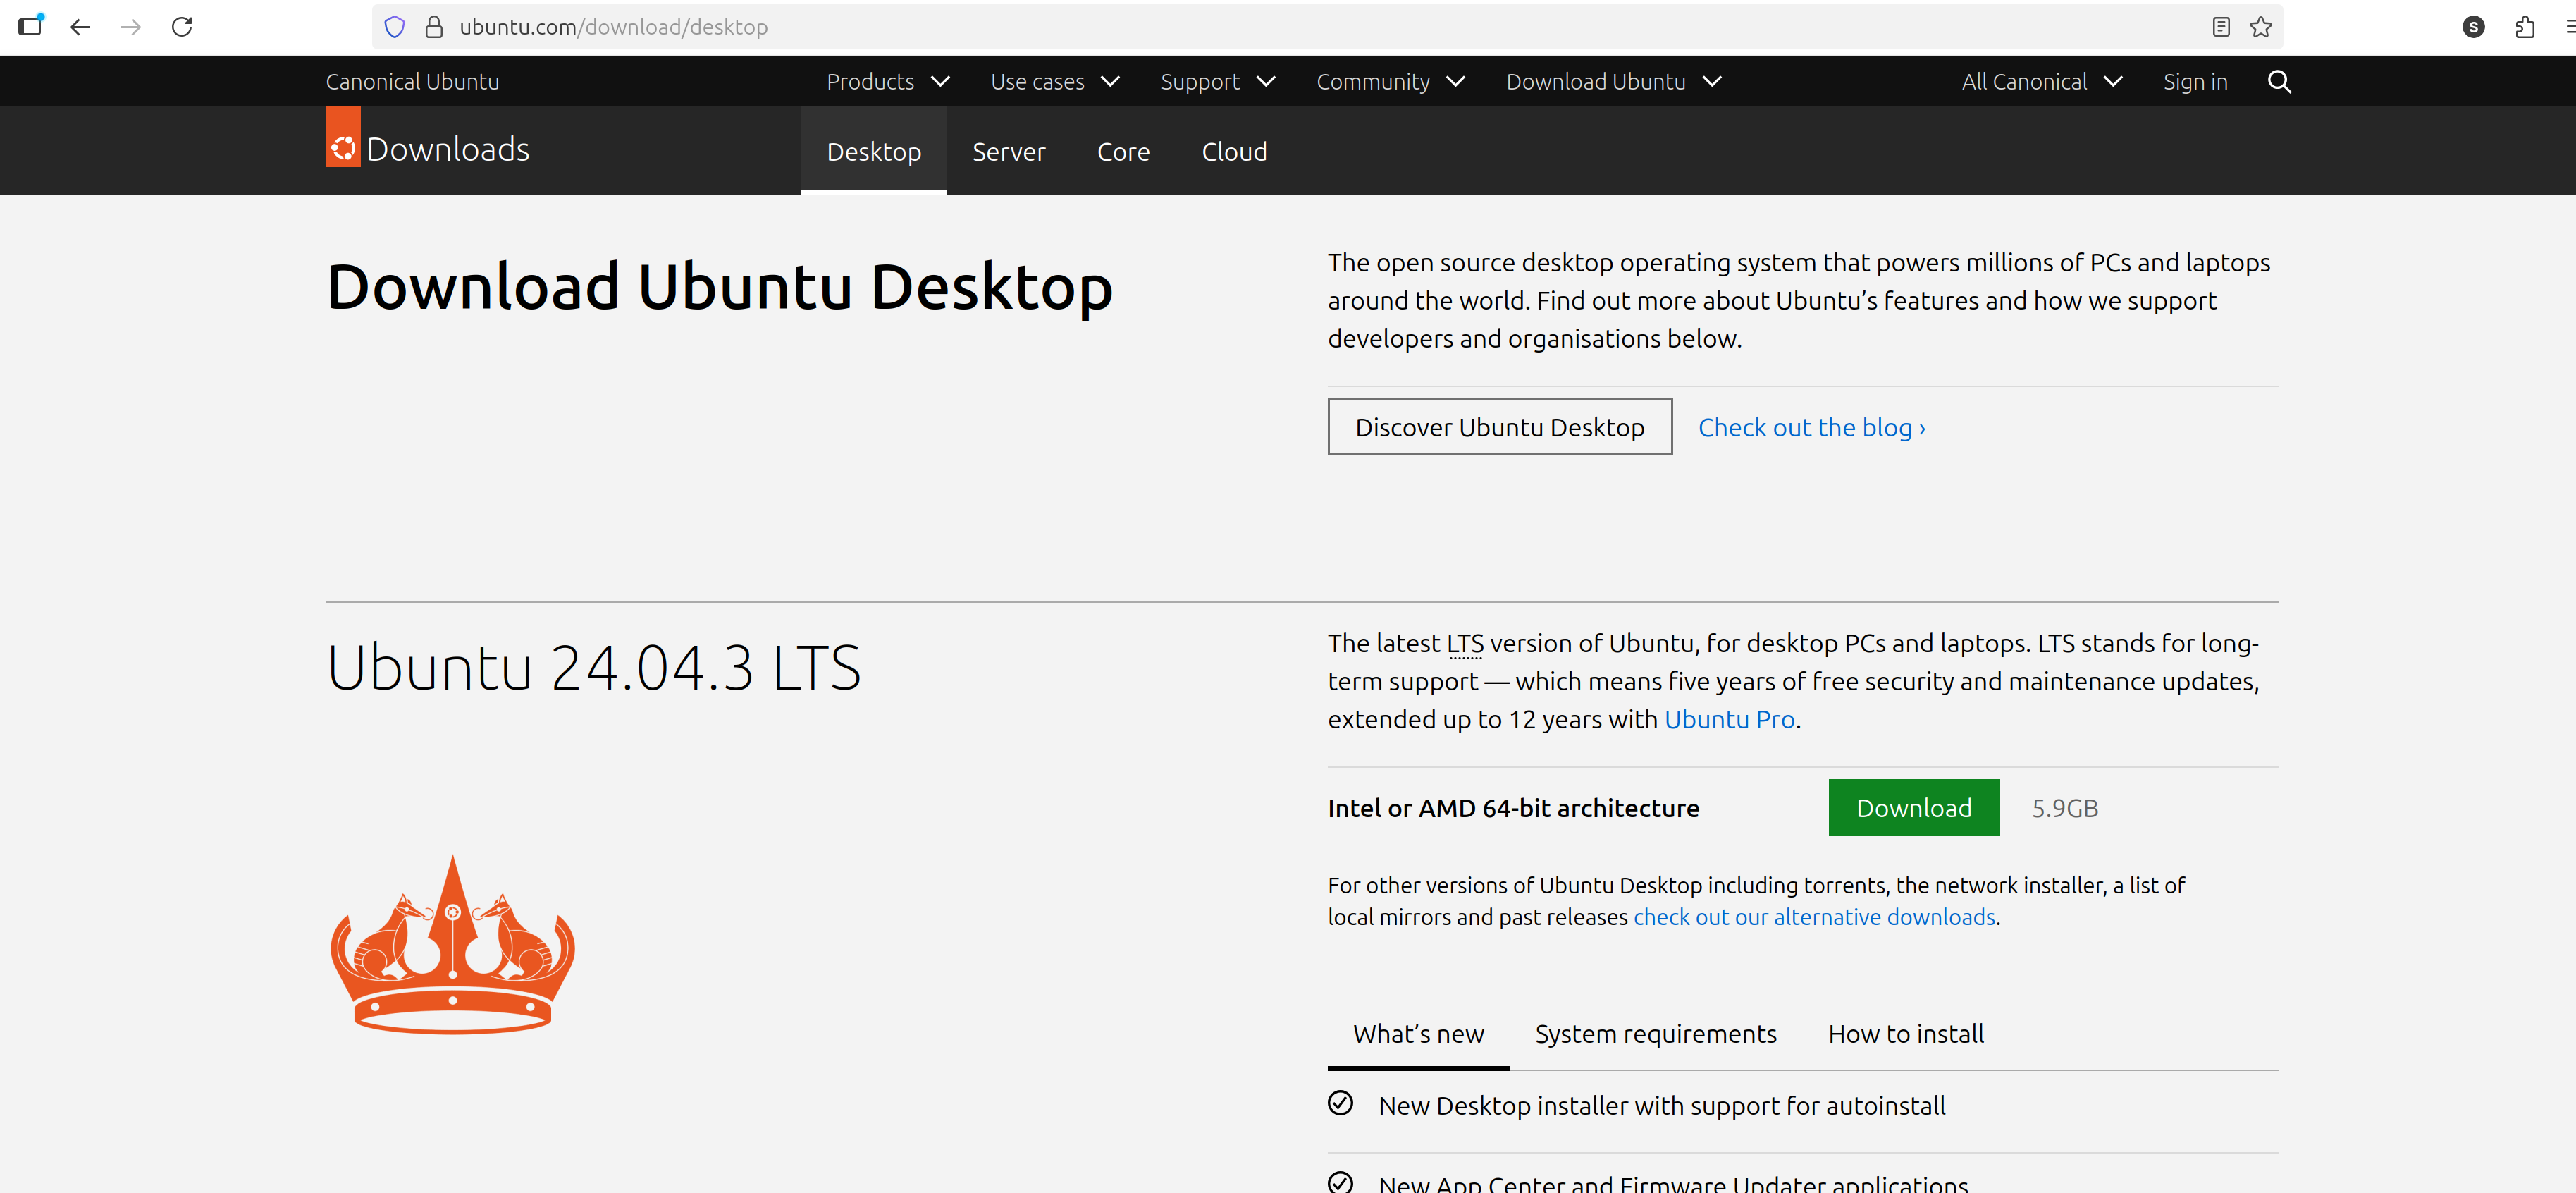
Click the link below to download Ubuntu 24.04 version . Also save the ISO file to a location you can easily access later. I am saving it in Documents folder.
https://ubuntu.com/download/desktop
Step 2: Create a Bootable USB#
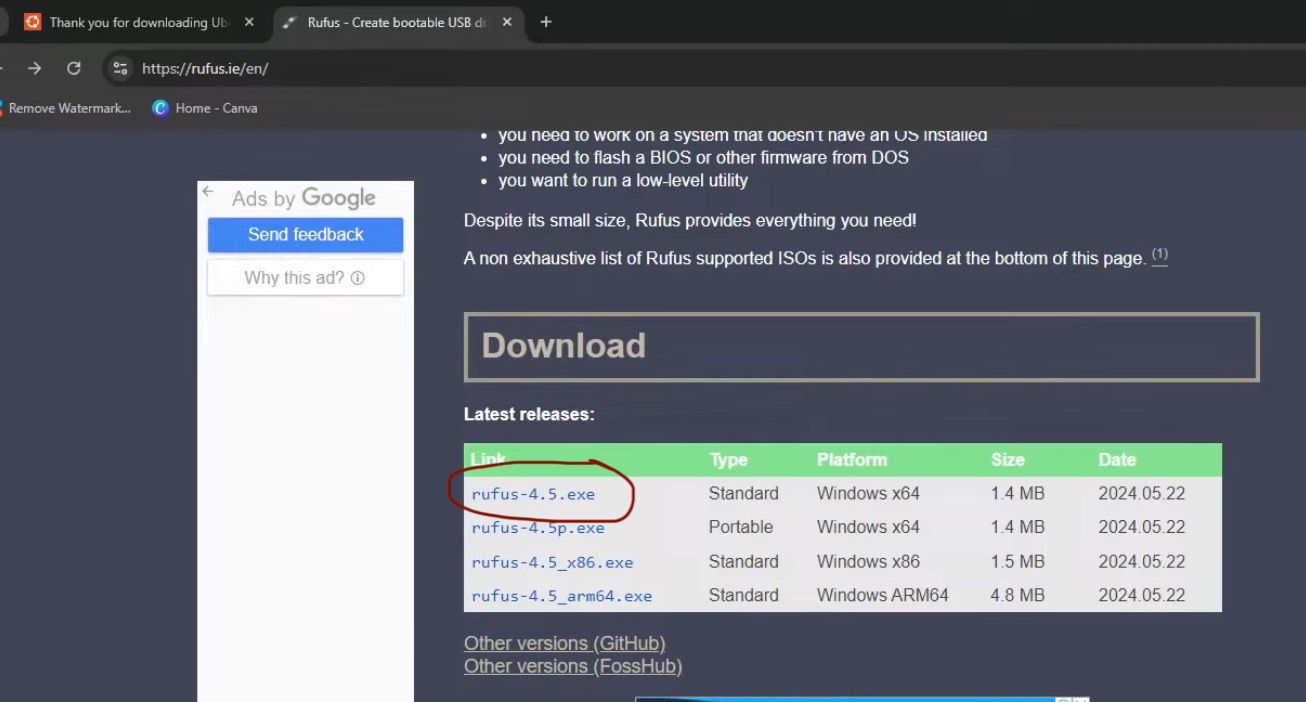
Now you have to make your USB Bootable , so for it you have to download a USB Bootable tool like i am downloading Rufus . Click the link below.and scroll down and click the latest release link.
then scroll down and click the latest release link as you can see in the picture below.
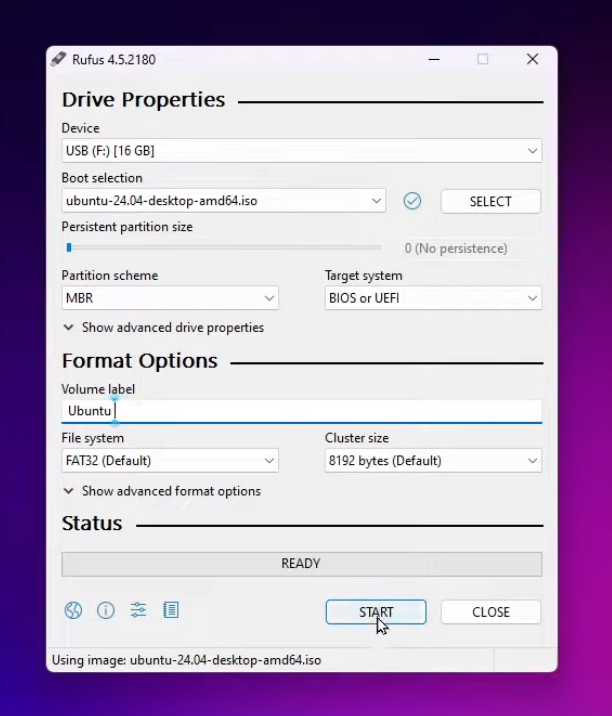
Now open this download and select
In Device , select your USB
In Boot selection , select the Ubuntu ISO image
You can label the volume (optional)
Click on start
Then select the option Write in ISO image
Step 3: Create unallocated space#
Make sure you have backup for data then free up Disk space
Press Win + X —> Disk management
Right click on your windows partition (usually : C) and click shrink Volume
here you can choose how much space you want to shrink ( Recommended at least 90 GB )
Step 4: Boot from USB Drive#
Insert the USB drive you prepared initially
Now restart the computer , during that press the key to enter boot Menu / Bios (Key could vary depending on the laptop , in my case :F12)
Select your USB Drive to boot from
Once it boots you will see the boot menu
select Try and Install Ubuntu
Step 5 : Setup:#
choose language and accessibility in Ubuntu
Choose keyboard layout
Don’t connect to the internet now
choose Install Unbuntu
Select Interactive installation
6. Install Ubuntu manually in Partition
Select Free space we made earlier , click + (plus button) —> Select 512 MB in size —> Select swap in mount —> Click Ok.
Then again select the free space again —> Select Ext4 in used as —> Select / in mount —>select Ext4 in used as —> Click Ok
Now select all of your disc(in my case : sda) —> Click next
Also remember to not to touch the drive which shows windows boot manager
Create your account
Create your account and select your timezone
review you choices , then click on Install
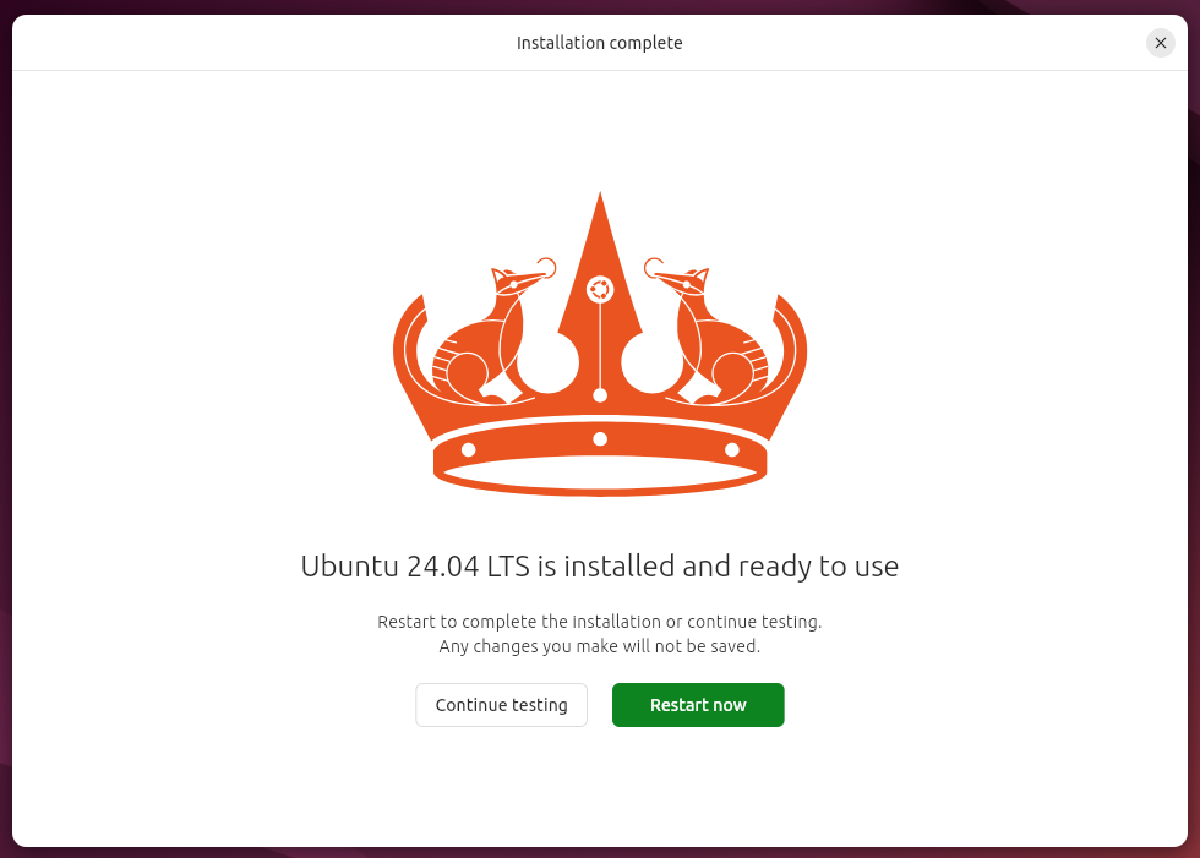
Now it will show you Ubuntu 24.04 LTS Installed and ready for use
click the restart option and unplug the USB
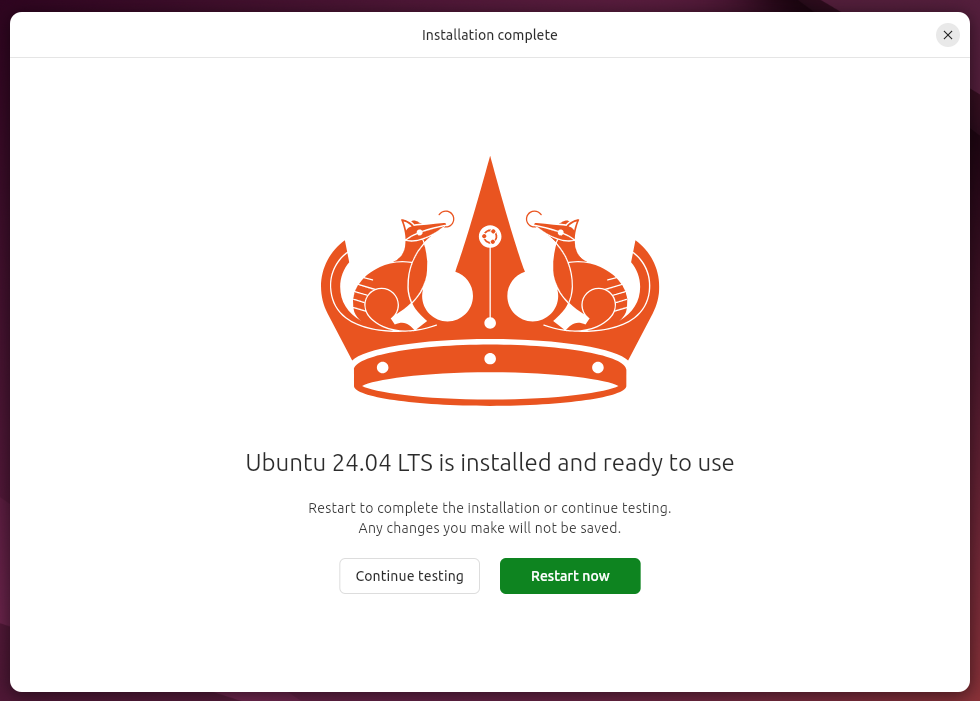
Confirmation of installation#
After restarting your laptop , you will see some options in your boot menu . Check if you are having the option of Windows and Ubuntu both. select Ubuntu so , you have successfully installed Ubuntu 24.04 version
Conclusion:#
By following these steps, you manually created your own partitions and installed Ubuntu exactly the way you wanted. This gives you full control over how your storage is organized and how Ubuntu manages your system.