
What is hugo?#
Hugo is a static site generator used to build websites and blogs. Static means files are prebuilt. Static site generator is a tool, it takes simple Markdown files and turns them into a proper complete site that can be launched.
Why people like hugo?#
- Insanely Fast and secure.
- No database or backend.
- Highly customizable.
Typical folder structure:#
Before proceeding, let’s understand the hugo folder structure of your site. Your site is a folder which have some folders and files that are given below.
my-site/
├─ content/
├─ layouts/
├─ static/
├─ themes/
├─ hugo.toml- Content —-> This folder is stuffed with your actual content
content/
├─ posts/
│  └─ first.md
|  └─ second.md
|  └─ third.md
├─ about.md
themes —-> A theme is actually a small site inside your hugo site.
Static —-> Images, fonts and JS are stored in static folder. Files are copied as it is to final site.
Public —-> Public is basically your final generated site. This is what you edit.
hugo.toml —-> It is the main configuration file. It includes the theme name , params , title and baseURL of your site.
Static site generation process:#
Step 1: Installing hugo#
- linux
sudo snap install hugoNote : Use snap instead of apt because it will install the latest version of hugo
- Mac OS
brew install hugo- Windows
Select a theme from Hugo Themes and incorporate it:
Step 2: Creating new hugo site#
- Run the given command to generate a hugo site and replace site-name with your site name.
hugo new site site-name- Now, remember that from now onward we have perform every step inside our site, so navigate into the site.
cd new-site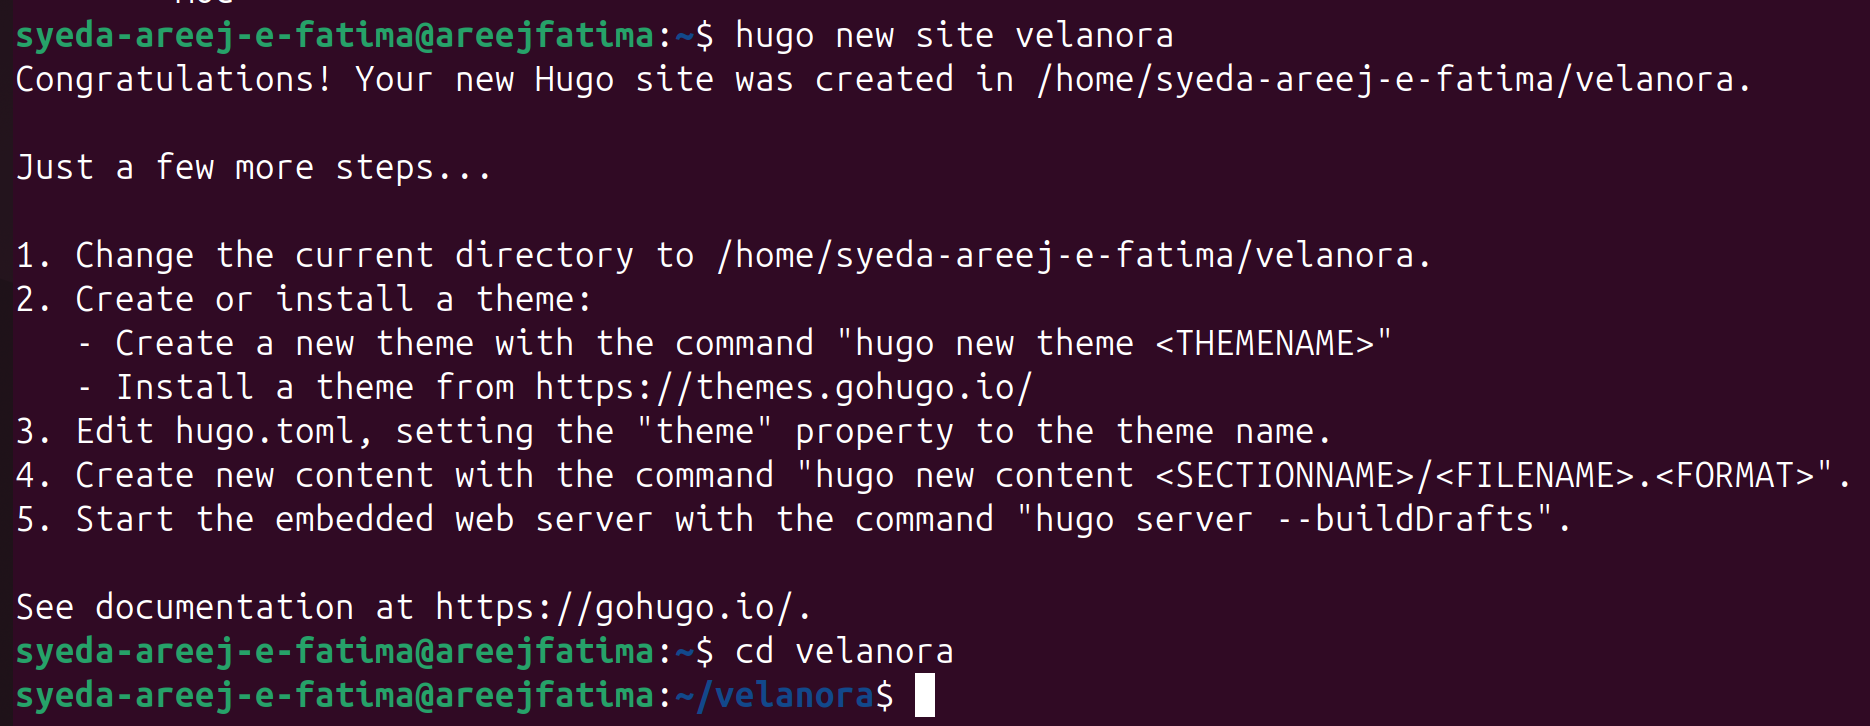
Step 3: Theme setup and enabling:#
1. setting the theme:#
- Initialize git init to track all your changes.
git init- Select your theme from Hugo’s themes, copy it’s https link.
- Add your theme as a submodule inside your site repo.
git submodule add github-url-to-theme themes/theme-namegit submodule add https://github.com/adityatelange/hugo-PaperMod.git themes/PaperMod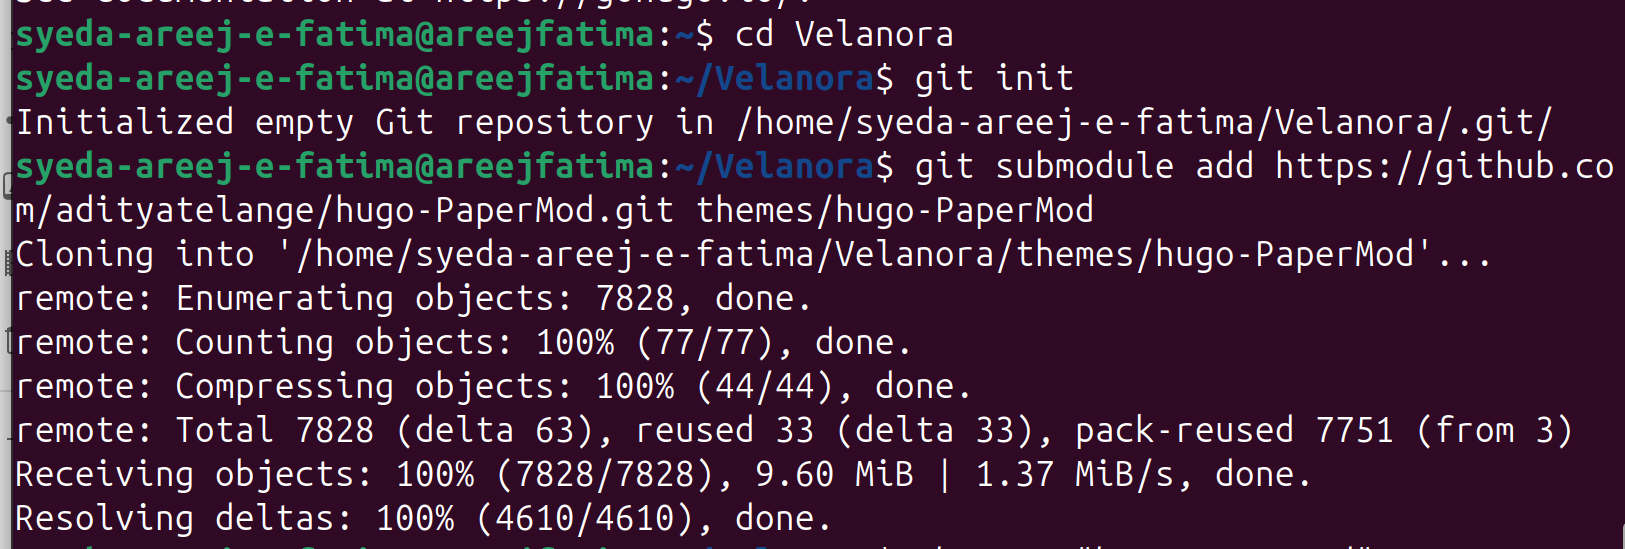
git commit -m "themes: Add PaperMod"2. Enabling the theme:#
Open your hugo.toml file and enable the theme.
In my situation,
theme = 'PaperMod'Step 4: Writing your first blog post#
- You have created your first blog post.
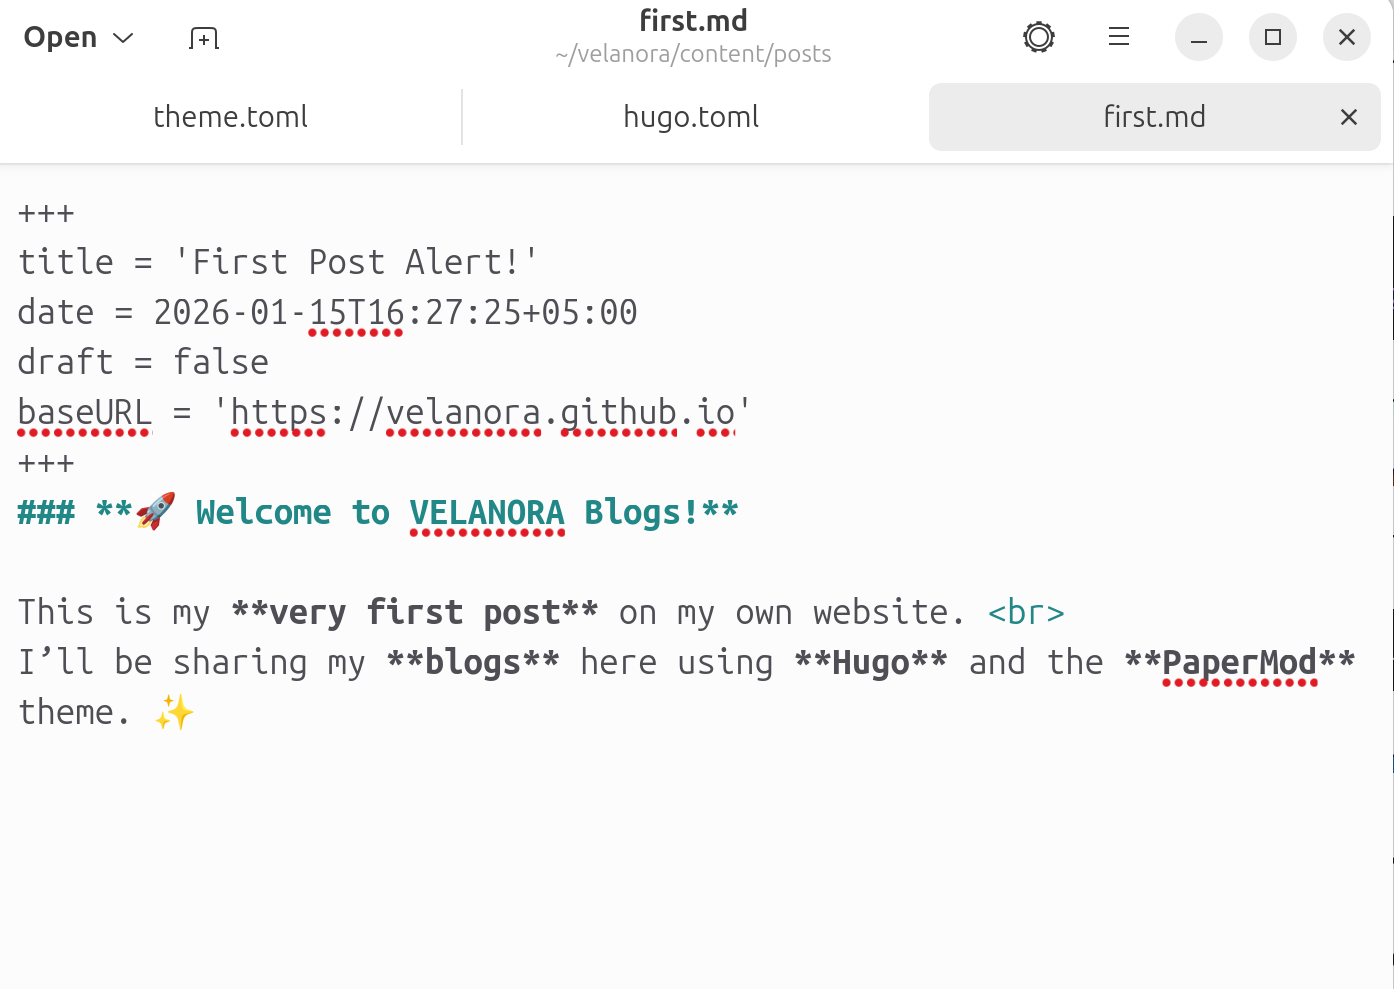
hugo new posts/first.mdStuff this post with your content by simply opening the first.md file with text editor or any other.
Save the content.
Step 5: Preview the site locally:#
Now, launch the site locally.
hugo server --noHTTPCacheOpen the local link that is named as http://localhost:1313/.
Deployment to Github:#
So, till now your site is locally available. We need to deploy it to github to make it globally available.
Step 1: Create a new repository#
- Navigate to Github.
- Create a new repository.
- Give it a name you want for your site in the given manner.
username.github.ioStep 2: Push your site to github#
After the customization and commits, push your local site to Github repository
- Open your remote repository.
- Copy it’s https link.
- The below given command connects your local Git repository to a remote repository on GitHub.
- Paste your repository https link as given below.
git remote add origin https://github.com/<your-username>/<your-username>.github.ioFor instance,
git remote add origin https://github.com/realahnet/realahnet.github.io- Push the changes to your Github repository.
git push -u origin masterStep 3: Setup Github Pages#
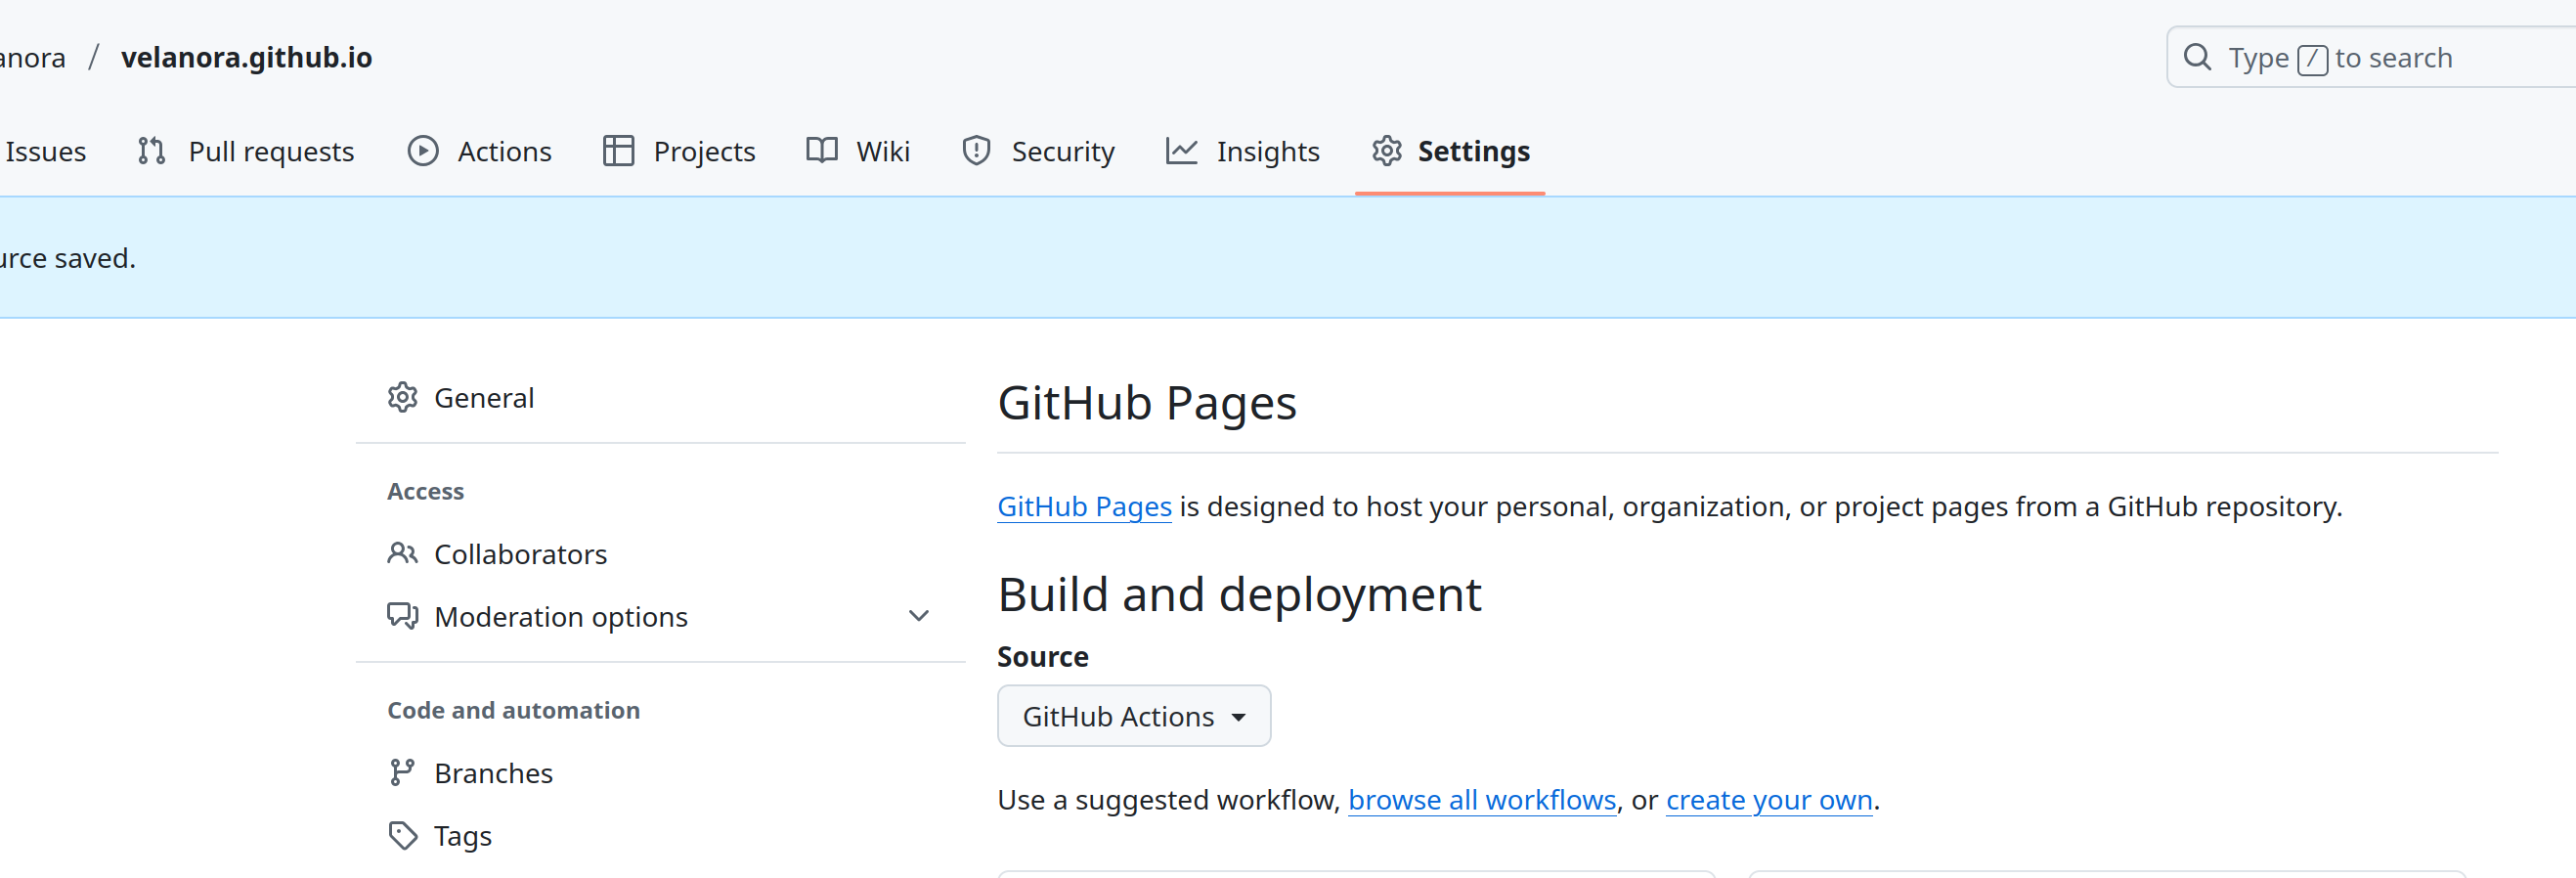
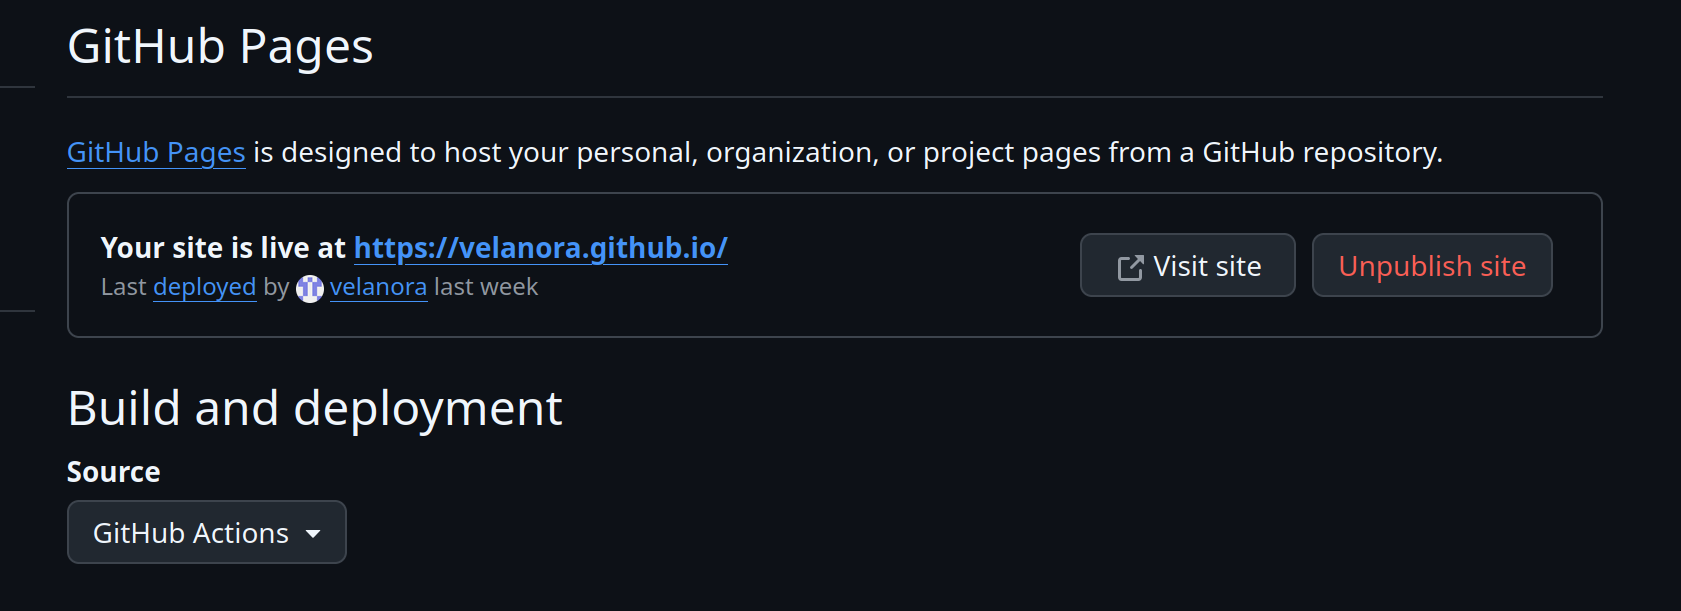
- Open your repository and navigate to the settings tab.
- Proceed to the pages tab
- Locate the “Build and deployment” section.
- Here, change the source to " Github Actions".
Step 4: Setting the Github workflow#
- Now, switch to the “Actions Tab”.
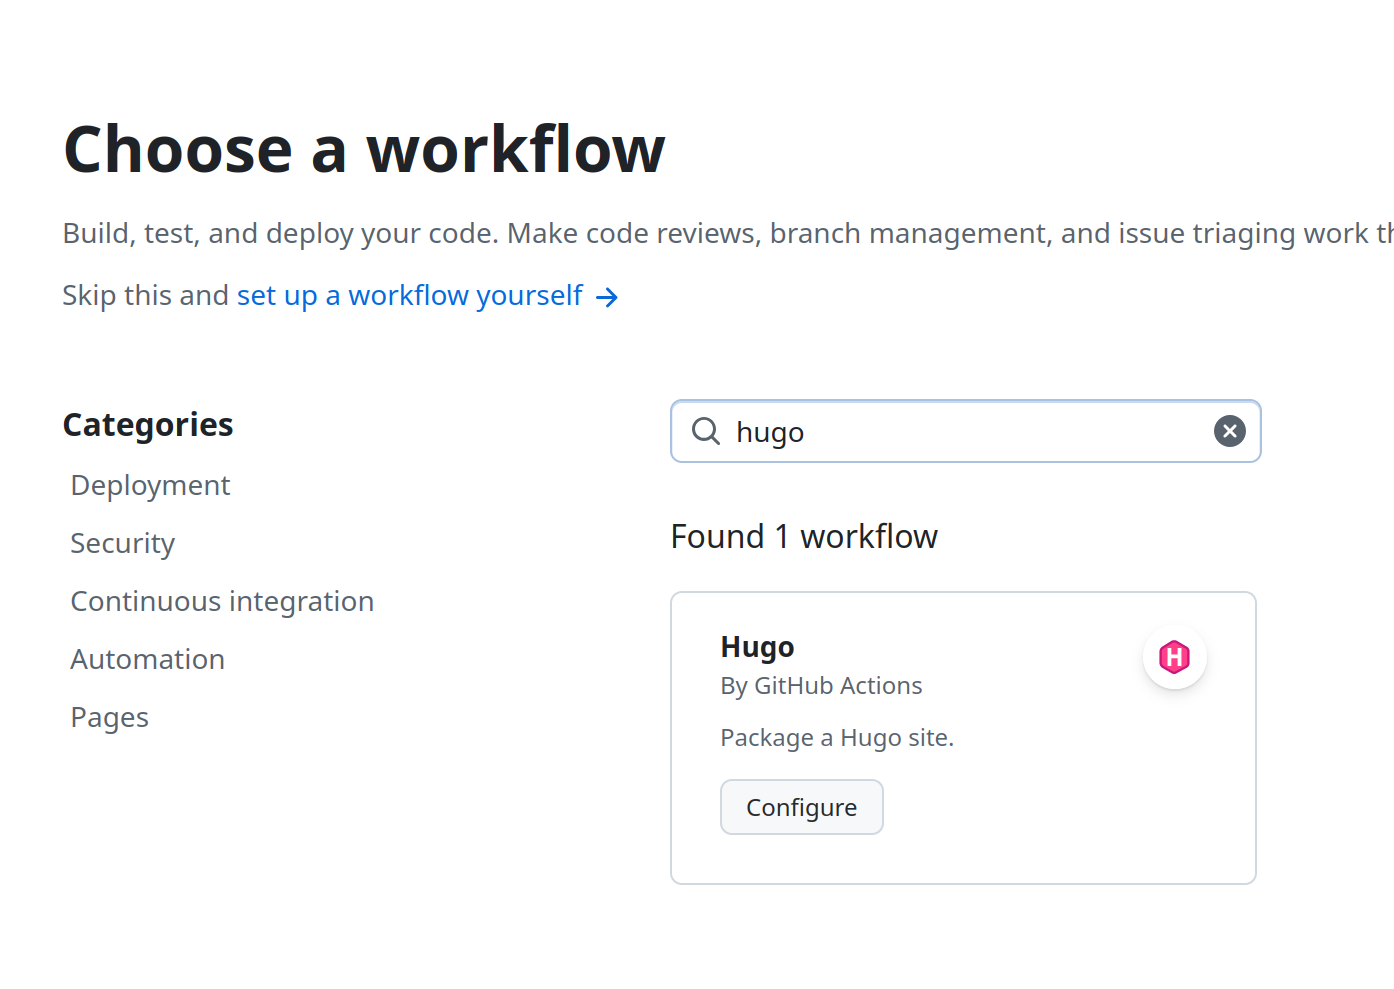
- Click the option “New workflow”.
- Search for “hugo”, configure that file.
- Update the hugo version to the latest version.
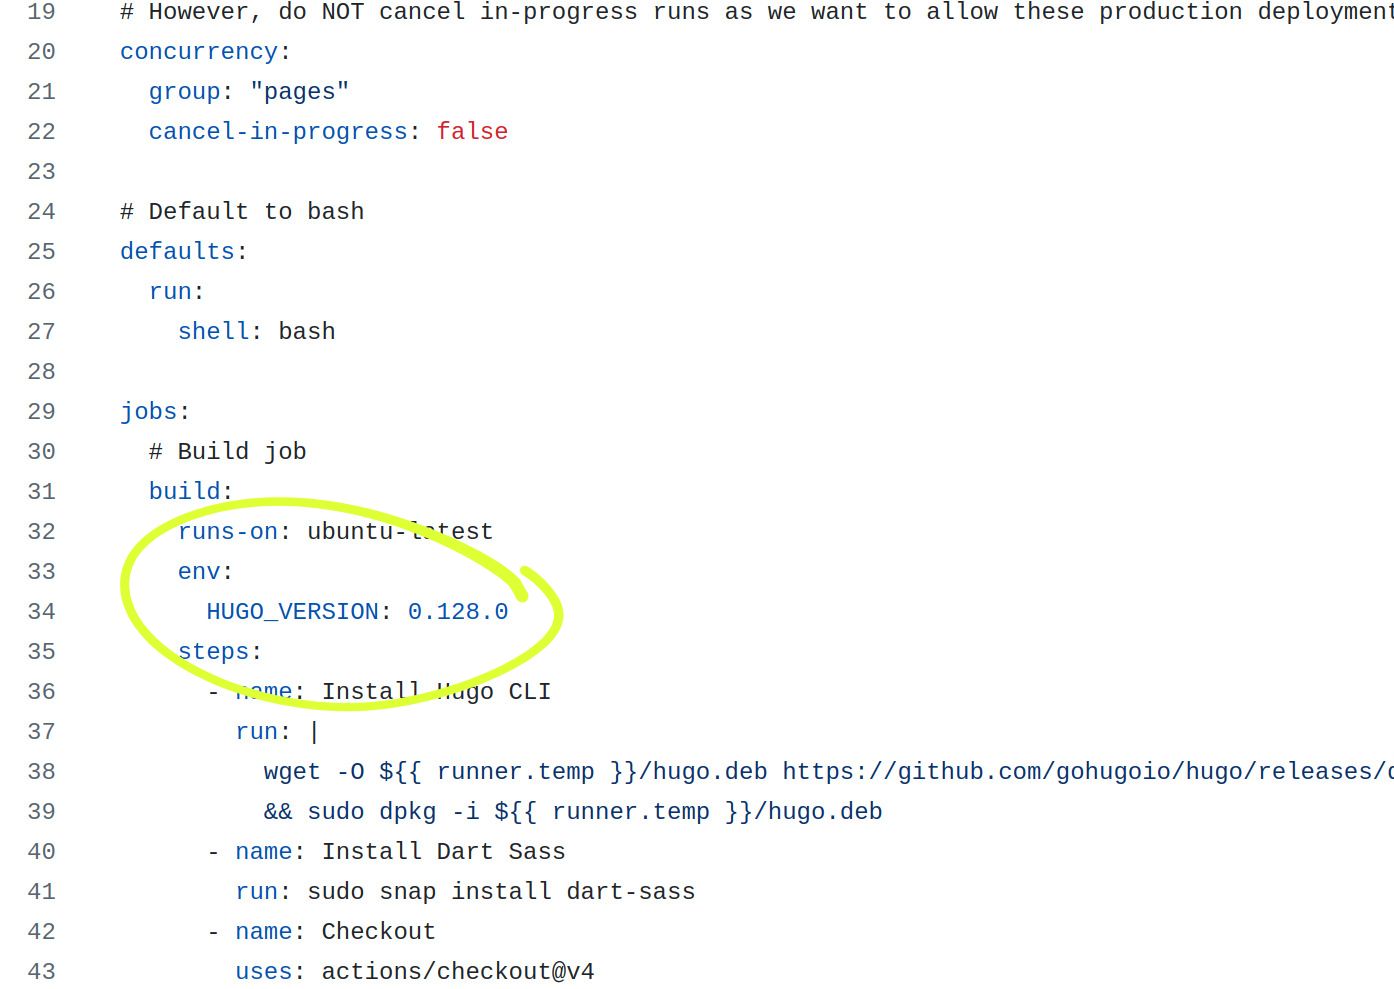
env:
HUGO_version : 0.154.5- Commit the change with an commit message.
- Afterwards, a workflow will start running.
- The moment this workflow is successfully deployed, your site is launched at
your-username.github.ioStep 5: Update your site’s Base URL:#
- Handle your hugo.toml file.
- Edit your site’s Base URL in the same manner as given below.
https://yourusername.github.io/baseURL = 'https://velanora.github.io'- lastly, visit your site from github pages.
Conclusion#
Hugo makes it incredibly easy to build and deploy fast, secure, and modern websites with minimal effort. If you value speed, simplicity, and full control over your content, Hugo is an excellent choice.